377 Valley Rd #1270 Clifton, NJ 07013 United States
377 Valley Rd #1270 Clifton, NJ 07013 United States
RHS Rivo's Vermicompost Harvesting Systems proudly designed and produced by Riverm / Turkiye, are used in approximately 40 professional vermicompost production facilities across Turkiye and 3 in Italy, 1 in Belarus, 1 in Libya, 1 in Romania, 1 in Lebanon.
RHS Rivo's Vermicompost Harvesting Systems are soil-independent automatic systems produced to ensure the quality standards of worm compost, a new generation fertilizer, and the necessary and sufficient conditions for worms to reproduce in optimum numbers in comfortable and healthy environments.
RHS Rivo's Vermicompost Harvesting Systems in Riverm's production areas are designed in accordance with American FDA standards.

What is the main idea of the Rivo’s Vermicompost Harvesting Systems?
The basic idea behind RHS Rivo's Vermicompost Harvesting Systems is to add vermi food
(a fermented mixture of cow manure and various plant matter) to the top of the system and harvest the vermicompost from the bottom, allowing feeding and harvesting to occur simultaneously.
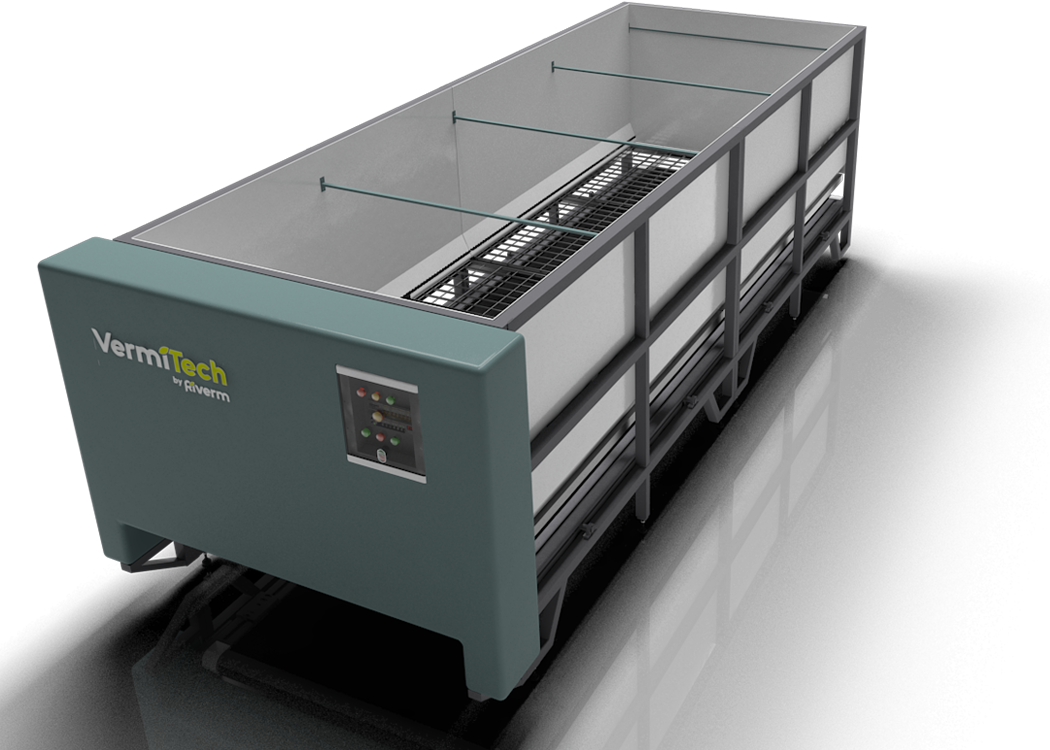
Details of the Rivo’s Vermicompost Harvesting Systems
The standard inner width of each RHS Rivo's Vermicompost Harvesting Systems worm bed translates to a width of 1.33 m between the outer sides.
The standard height of the system is 1.3 m, while the inner depth of the worm beds is 0.74 m, which is elevated by legs resting on adjustable footings to offset any possible unevenness of the ground. The length is variable depending on the demand, Riverm is capable of producing Rivo’s Vermicompost Harvesting Systems 2.5 m to 25 m long, and plans are underway for systems as long as 50 m.
On average, a 20 m long system settles on an area of 3 m x 22,5 m (which includes operational areas for feeding and harvesting surrounding the system).
The sides of the system are made of PPM plastic sheets, while the structural skeleton consists of welded steel profile.
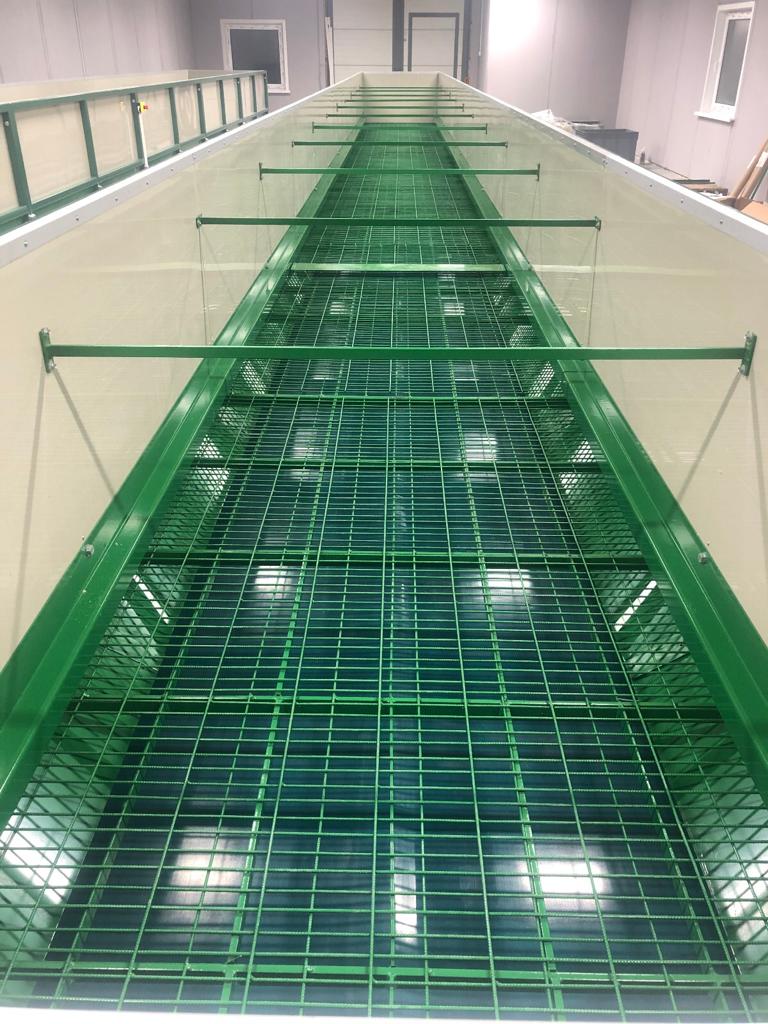
The elevated system allows easier harvesting, maintanence, control, and better protection against rodents and other pests.
Average monthly vermicompost harvest depends on the length on the system and varies between 500 kg and 6 metric tonnes.
The volume of a fully loaded 20 m long system is 18.5 cubic metres.
The standard equipment of the system includes a monoblock blade propelled by chains, an electronically controlled panel, digital temperature and humidity measurement, sound warning, and an emergency stop button.
The standard colour is RAL 6005 moss green.
Optionally, we can include remote monitoring and control (through computers and mobile phones), a touch screen, and temperature and humidity conditioning systems.)
How does the Rivo’s Vermicompost Harvesting Systems operates
The operation principle of Rivo’s Vermicompost Harvesting Systems is quite simple.
The mix of cow manure and up to 30% plant material (includes anything from garden waste, weeds, tea and coffee grounds, a little bit of paper, to selected domestic waste — it is particularly important to leave acidic waste, such as orange peels, out — all shredded up for good before adding onto the pile) is fermented and frequently aerated for a couple months in an area separate from the worm beds. In the end, this mix turns out to be the worm food.)
So, you have added the first layer of food into the empty system, and then come the worms. The optimal population for a harvesting system is 40,000 individuals per square metre. For the start, though, Riverm advises to add 10,000 individuals per sq m. If everything is alright, and the conditions are ideal, the 40,000 threshold will be reached until the system is full, and then the excess population can be trapped and taken to another worm bed, or sold. These tiny creatures are a little epicurean, so to speak — too much population in a too tiny space lowers their vermicompost production levels.
The species we use for vermicomposting is red Californian worms (Eisenia fetida), native to the swamplands and humid soil of Europe. They are easy to adapt, quick to produce vermicompost, and have a high level of reproduction rate. The optimal temperature for them to vermicompost and reproduce is about 20 degrees C; above 40 degrees C and below +7 degrees C, they ground to a halt. Other species belonging to the Eisenia and Dendrobaena genera have been tried and found successful for producing vermicompost, though.
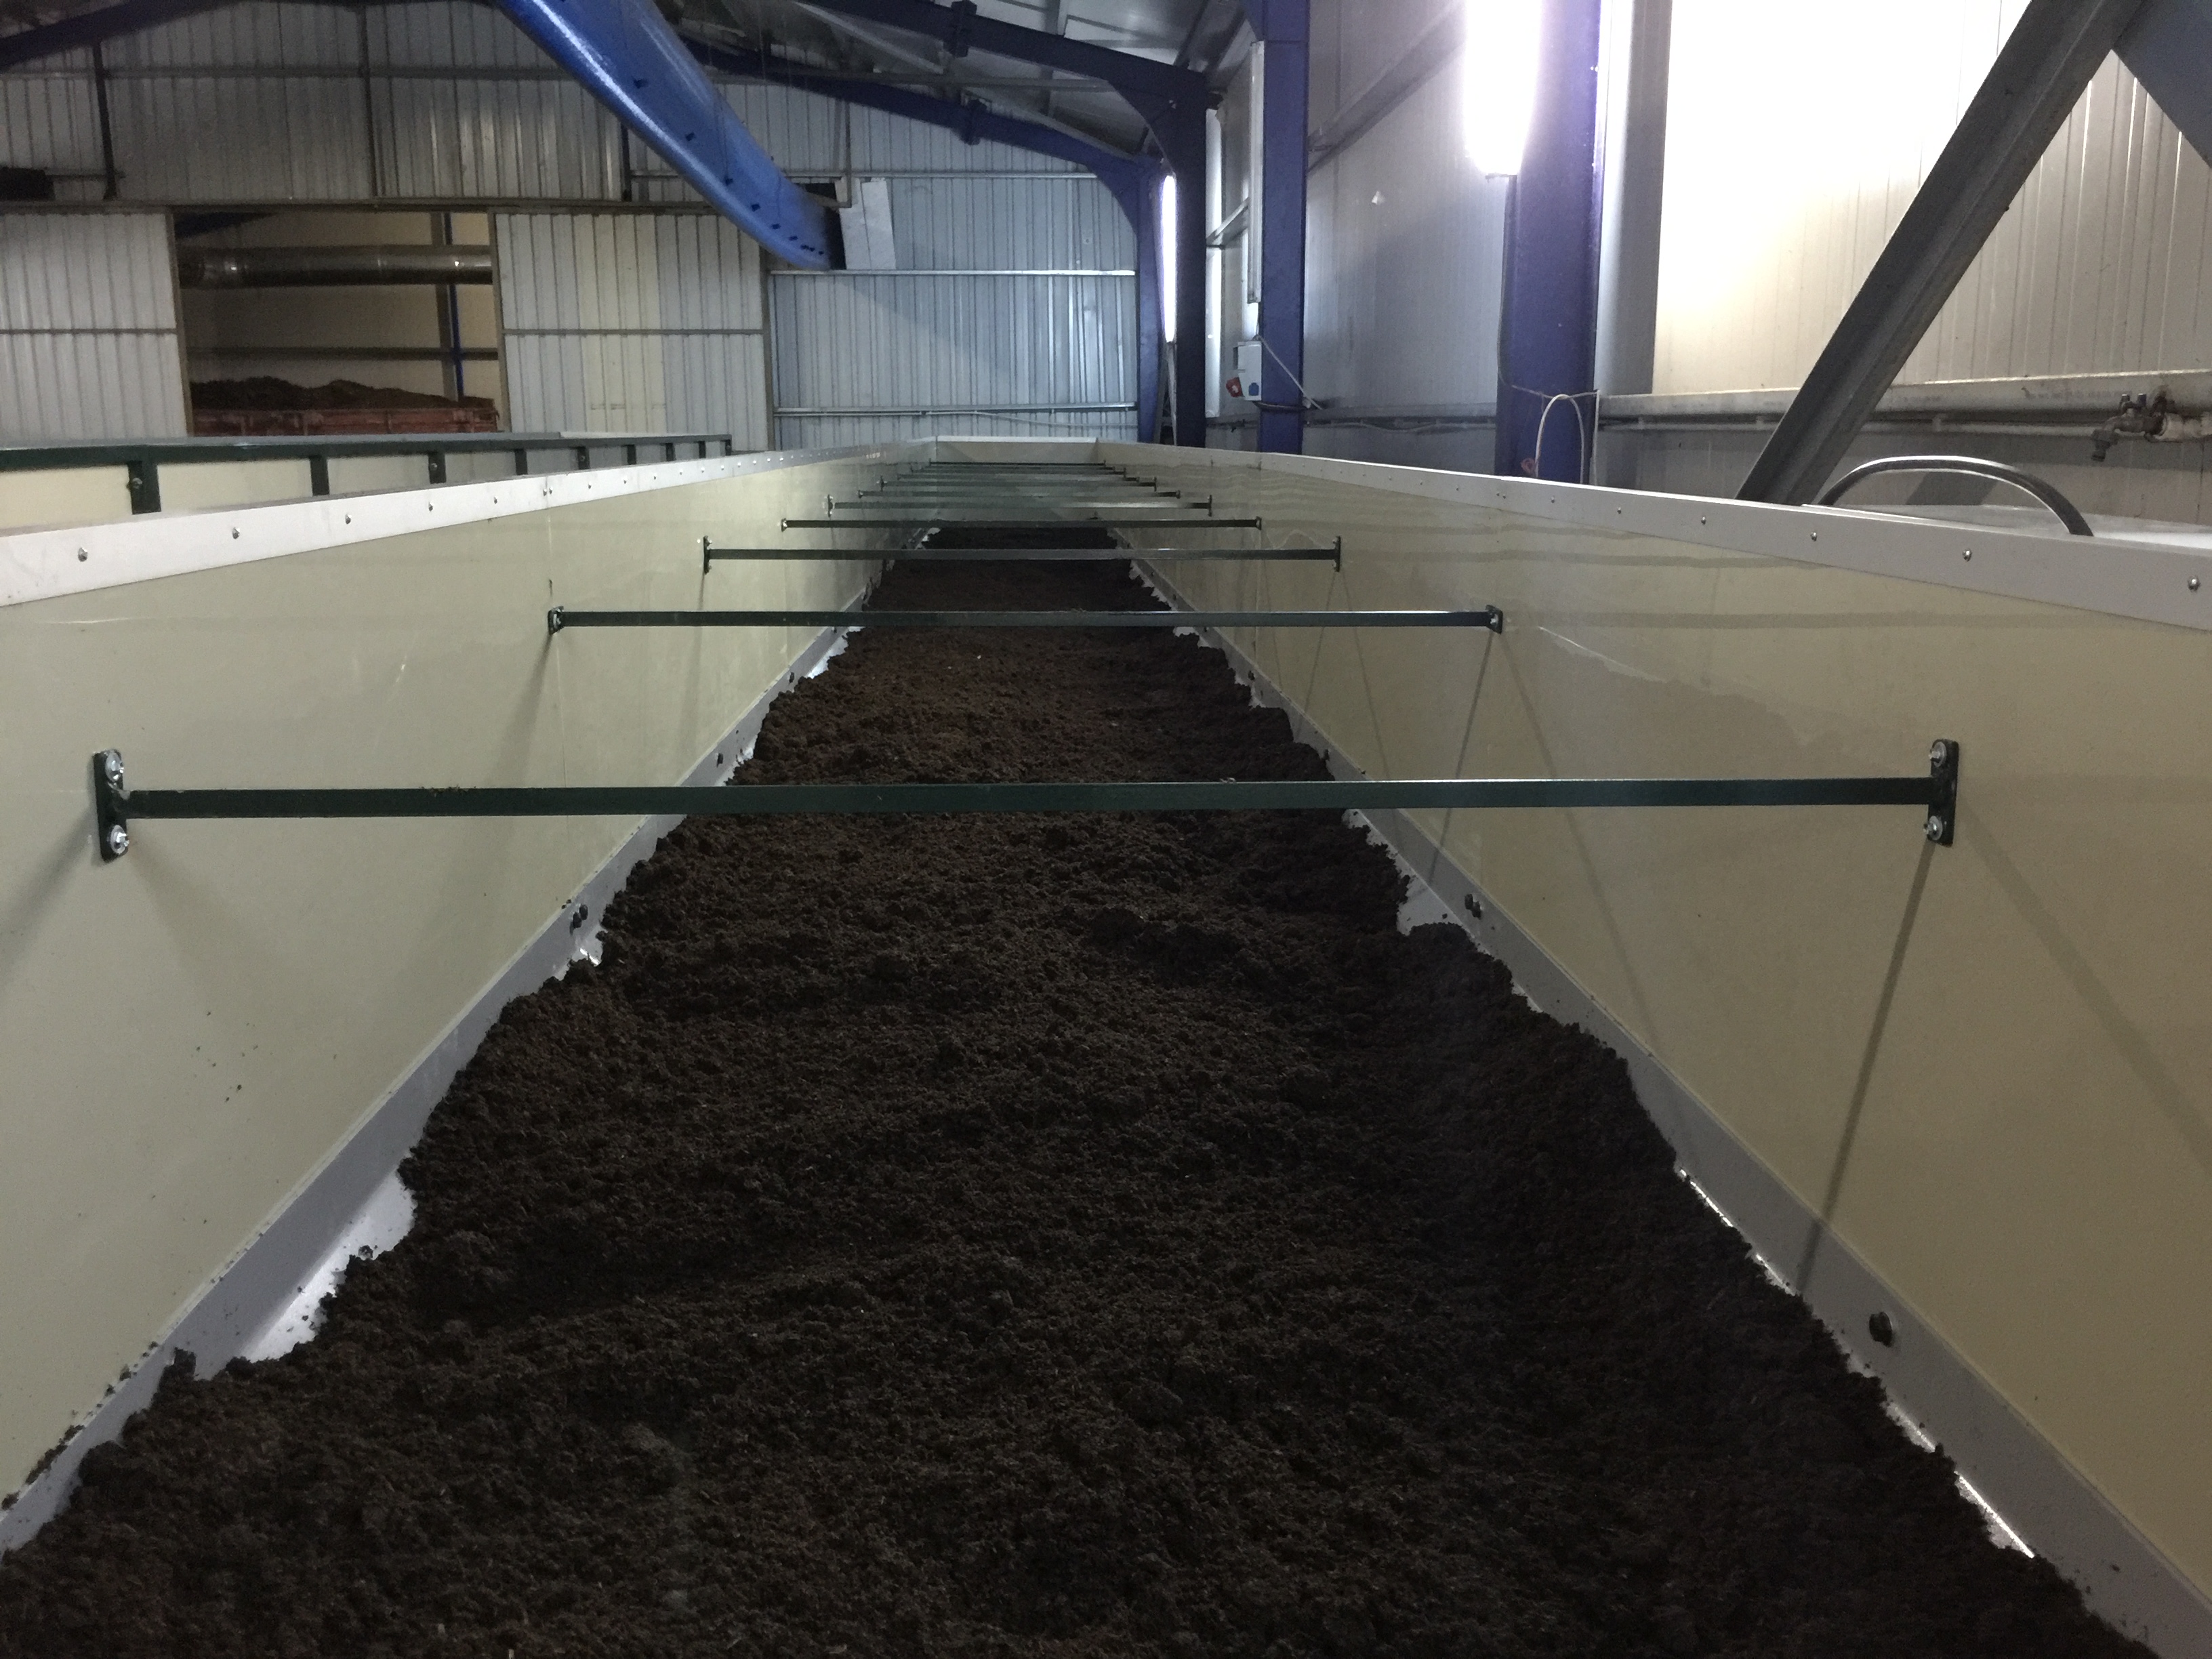
Once the first layer of food and worms are in the system, more food is added from the top, preferably weekly, but the frequency is mostly dependent on the operation plan and workforce. One easy hint to see whether the worms need more food is to inspect the top of the food heap frequently and closely — when the food is first added, it should look lumpy, cloddy, and coarse, like miniature craggy mountains. After the worms go through it, it should flatten down fairly well — think of a fully still ocean if that helps.
So, more layers of food are continuously added onto the top of the system; if the conditions are optimal, it can take as little as three months until the system is full, although a duration of four to six months is probably a more realistic expectation. This is when you get your first harvest.
Again, the frequency of harvest depends on the operation plan and workforce; we have found out that weekly harvests are easy to carry out. By this time, the kraft paper is fully biodegraded into the vermicompost and is nowhere to be seen. A blade mounted into the system slowly works its way through the bottom part of the heap, and the fully mature vermicompost falls onto the conveyor below, which takes the harvested vermicompost to the front of the system.
The harvest is then taken to drying which can be achived naturally, or with the help of a fan or other drying machinery
What happens to the worms when the blade goes through the bottom of the heap?
Well, since the vast majority of them live only in the uppermost 10-15 cm of the bin, there is only a minimal amount of worms to be found in the harvest. By the way, since the worms are sensitive to light, keeping the lights on for 24 hours a day in where the systems are located is important, lest they escape from the top of the system and scatter all over the place.
So, adding the worm food on the top, letting the worms eat it up completely, and harvesting months-old, properly matured product from the bottom, ensures all of the harvest is vermicompost with no impurities, thanks to the ingenious and innovative design of the Rivo’s Vermicompost Harvesting Systems.
Important Points
Care should be taken that the manure to be used as worm food should have undergone a dewatering process, and the fermentation of it should be undertaken on a clean and flat, preferably feeding the worms should be performed regularly, frequently, and as little as possible, depending on the bed sizes.
Care should be taken to have the surface of the newly added food layes within the bed at a fixed level.
It is imperative that any foreign material such as pebbles, stones, plastics, glass, etc should be excluded from the food to be added into the system. As can be seen in the pictures throughout this document, such material leads to fault in the operation of the system.
Moisturizing should be undertaken as needed and either through sprinkling with the use of specialized apparatus, or with the help of foggers.
Riverm recommends to add 60 L of water to a RHS-2S/20 (20-m system) on the average in one go, so as not to disrupt the lives and operation of the earthworms. Examples of the frequently encountered problem of overwatering can be seen in the pictures throughout this document.
Depending on the feeding rate and external conditions, the first harvest should be undertaken at the end of between 4th and 6th months after the system has been started to get loaded. By this time, the surface of the food layer within the system should have reached a fixed level. After the first harvest, the recommendation is to undertake harvests in weekly intervalsconcrete ground.
Harvested vermicompost amount should be proportionate to the amount of the food added.
During the harvest, the blade engine and the conveyor engine should not be operated simultaneously.
In case of any problems, emergency stop button should be pressed immediately. Therefore, the operator should be as close as possible to the emergency stop button during the harvest.
It is very important that the vermicompost fell onto the conveyor belt during every single directional movement of the blade should be unloaded before the next single directional movement of the blade
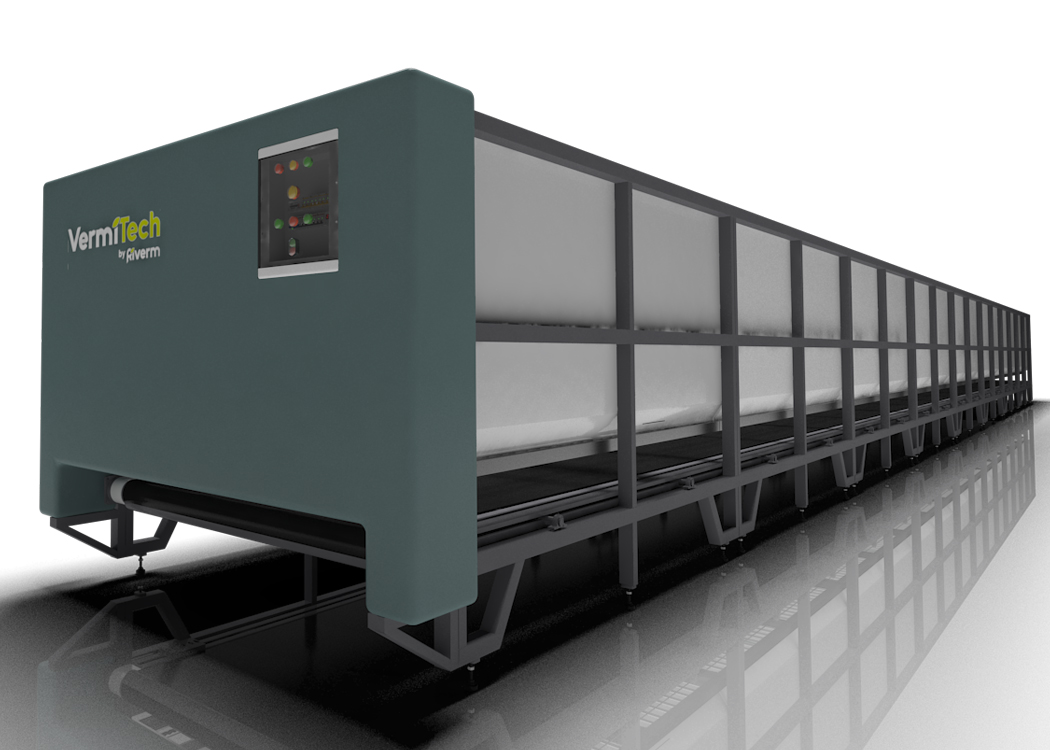
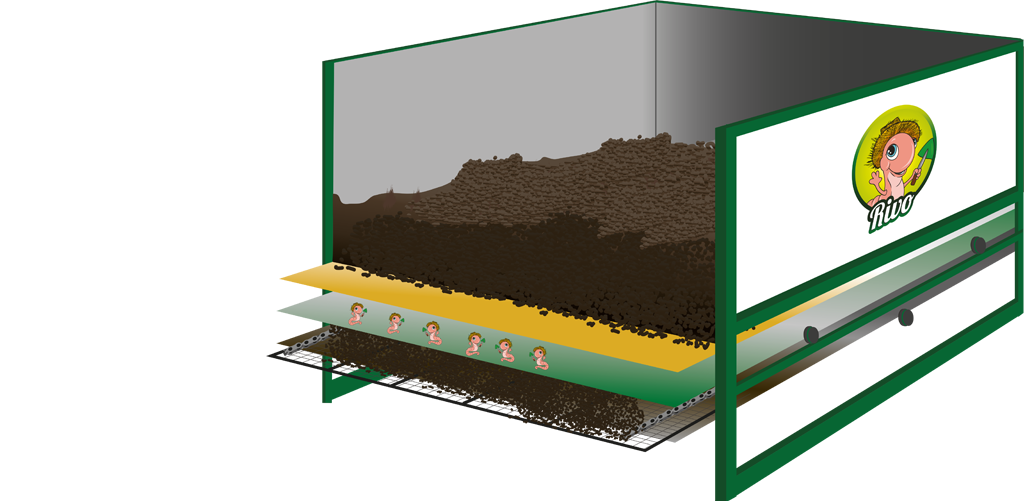
Diagram 1. Positioning the Earthworms Into the Beds
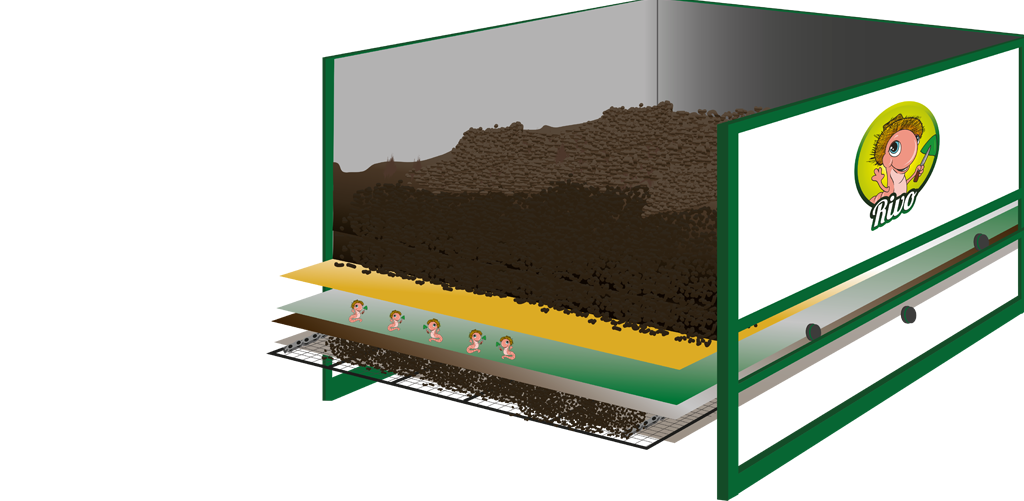
Diagram 2. Feeding the Earthworms

Diagram 3. Filling Up the System
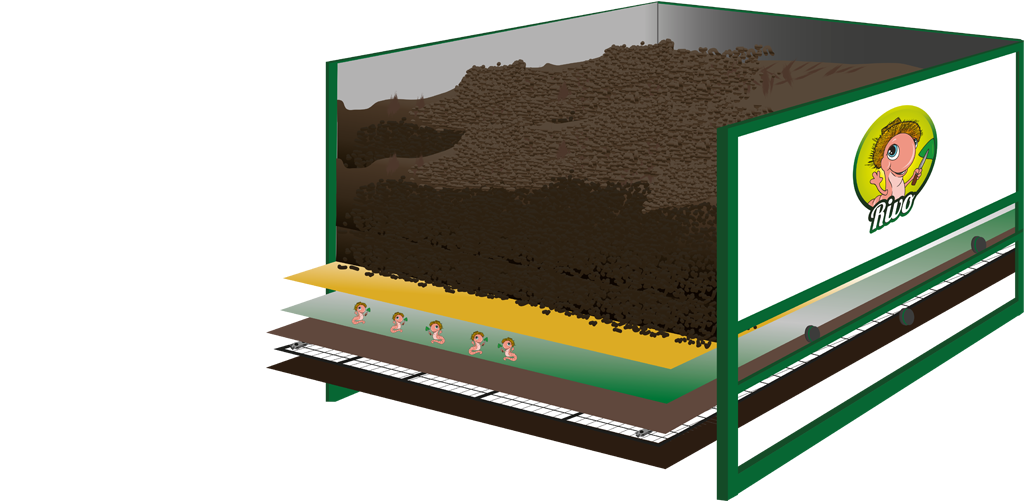
Diagram 4. Harvesting Stage
Wouldn't you like to join us?
